Today is Not Opposite

Opposite Day.gif

Just Kidding! Today is Opposite Day! (See what I did there?!)

How did Opposite Day Start? According to HolidayCalendars.com...
While no one really knows the origin of Opposite Day, it is believed that it goes back to an old childhood game that dates all the way back to the turn of the 20th century. This game involved children asking each other silly and often nonsensical questions and then reversing the answers to make one another laugh.

Check out http://www.holidayscalendar.com/event/opposite-day/ for more fun facts about Opposite Day!

Did you know?!

Happy National Bubble Bath Day!!!

Bubble-bath.jpg

Who doesn't love a good bubble bath? Especially in the colder winter months to warm up those toes! So after a long day at school, work, or where ever you have been today, make sure and celebrate National Bubble Bath Day!

For some more Bubble Bath Fun, visit Kid Spot for a fun DIY Bubble Bath Recipe:
http://www.kidspot.com.au/things-to-do/activity-articles/bubble-bath/news-story/52ae0549fe9f523f1dbbd66d6a704d66

Christmas Crafts for All Ages!

Christmas Garland out of construction paper

Christmas Garland out of construction paper

Who doesn't remember this from growing up! Another old classic being brought back. One of the great parts about making Christmas Garland with your kids is you can do all of the cutting preparations before the kids ever know what they will be working on! This allows for kids of all ages to join in. 

Materials:

  • Construction Paper or a heavy grade paper
  • Scissors (Regular or Safety depending on who is doing the cutting)
  • Glue Sticks
  • Markers or Crayons (optional)

Cut Strips from 1" to 2" wide, your preference. Stack by color for easy selection. Depending on the age of your kids, it is suggested to cover the table if it is not specifically meant for crafts and to get messy.

Color designs on the strips of paper if you or the kids want that. Snowflakes, stars, the skies the limit!

Start the chain with the single loop and each following loop glued through the previous ring until it is the length you want! Hang it on the tree, in doorways, wrapped around pillars, or in windows. so many places it can be used.

 Such a simple project, but if you want to go more detailed check out the link below for more paper garland ideas!
http://www.guidepatterns.com/37-diy-paper-garland-ideas.php

Crafty Halloween Costumes

Let's get crafty! Instead of rushing off to the big box store to buy a costume for your kiddos, why not make one at home with them for this year's Halloween? Check out these cool and crafty costumes below.

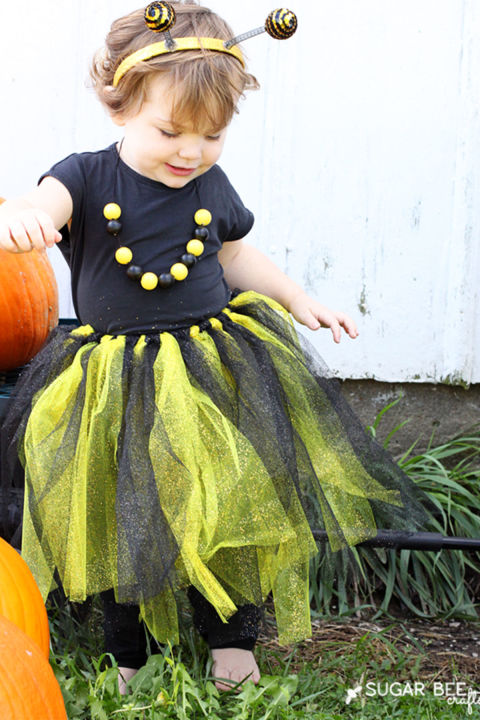
gallery-1497651696-bee-costume-easy-no-sew.jpg

Bee

This no-sew Halloween costume is sure to be buzzworthy!

Get the tutorial at Sugar Bee Crafts

What you'll need: black t-shirt ($10; amazon.com), black leggings ($7-10; amazon.com), bee headband ($3; amazon.com) , elastic ($5; amazon.com), sparkle tulle ($9 for 10 yards; amazon.com, wooden beads ($8 for 200; amazon.com), craft paint ($5 each; amazon.com)

Panda 

Does it get any cuter than a baby panda? 

Get the tutorial at C.R.A.F.T.

What you'll need: black onesie ($8; amazon.com), white beanie ($7; amazon.com), felt ($6.50 each for 5 sheets; amazon.com), hot glue gun ($9; amazon.com)

Baby Cow 

This adorable costume will get your little one in the moooo-d to trick-or-treat. 

Get the tutorial at Make It and Love It

What you'll need: white onesie ($6-$10; amazon.com), white fleece ($8 per yard; amazon.com), black fleece ($4 per yard; amazon.com), pink felt ($5; amazon.com), black felt ($5; amazon.com), bottle nipples ($3; amazon.com), epoxy glue ($5; amazon.com)

Penguin

You can make this cozy costume entirely from fleece and batting. Just imagine how cute your child will be waddling around in this suit!

Get the tutorial at Make It & Love It.

Owl

All you need are some old T-shirts, fabric glue, and a few hours to make this easy owl costume Ellen Luckett Baker made for alphamom.com

Get the tutorial at Alpha Mom.

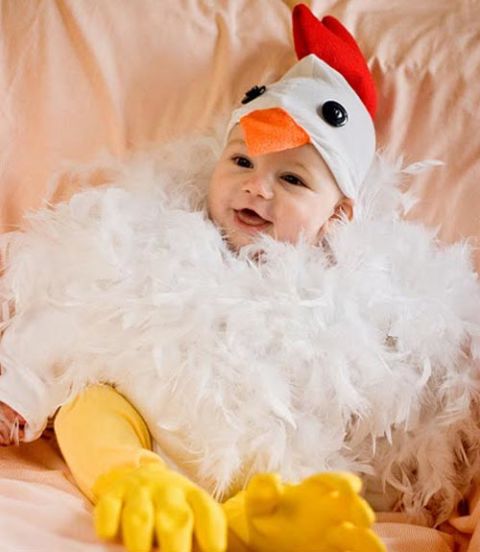
54eb61d5b727e_-_chicken_xln.jpg

Spring Chicken

Create an adorable costume for the smallest chick-a-dee in the roost with these tips from blogger Jessica Kesterson. She used a couple of boas for the soft feathers and kitchen gloves for the little rooster's legs and feet. The hat is just a T-shirt, a few bits of felt, and some big black buttons. 

Get the tutorial at Living the Swell Life.

What you'll need: onesies ($10 for 5; amazon.com), stuffing ($8; amazon.com), feather boa ($6; amazon.com), dish gloves ($7 for 6; amazon.com), felt ($11; amazon.com), buttons ($1.50; amazon.com)

Yummy Halloween Recipes!

Cupcake Graveyard

Ingredients

  • 1 (18.25 ounce) package chocolate cake mix
  • 2 (16 ounce) packages vanilla frosting
  • 3/4 cup chocolate sandwich cookie crumbs

Directions

Prepare and bake cake mix according to package directions for cupcakes.
In a medium bowl stir 1 package of frosting with the cookie crumbs. Frost cooled cupcakes.
Fill a pastry bag, fitted with a plain tip, with remaining white frosting. Write R.I.P. on each chocolate covered graham cracker cookie. Stand a decorated cookie on top of each cupcake so that it looks like a tombstone. Place the cupcakes on a large cookie sheet that has been covered with green paper. Place paper ghosts and bats randomly through the graveyard. Serve!

Witches' Hats

875191.jpg

Ingredients

  • 2 (16 ounce) packages fudge stripe cookies
  • 1/4 cup honey, or as needed
  • 1 (9 ounce) bag milk chocolate candy kisses, unwrapped
  • (4.5 ounce) tube decorating gel

    Directions

    Lace a fudge stripe cookie with bottom side up onto a work surface. Smear a small dab (about 1/8 teaspoon) of honey onto the bottom of a chocolate kiss, and secure the candy piece to the center of the cookie, covering the hole. Use decorating gel to pipe a small bow onto the cookie at the base of the candy piece. Repeat with remaining ingredients.

Peanut Butter Spider Cookies

Ingredients

  • 1/2 cup shortening
  • 1/2 cup peanut butter
  • 1/2 cup packed brown sugar
  • 1/2 cup white sugar
  • 1 egg, beaten
  • 2 tablespoons milk
  • 1 teaspoon vanilla extract
  • 1 3/4 cups all-purpose flour
  • 1 teaspoon baking soda
  • 1/2 teaspoon salt
  • 1/4 cup white sugar for rolling
  • 24 chocolate candy spheres with smooth chocolate filling (such as Lindt Lindor Truffles), refrigerated until cold
  • 48 decorative candy eyeballs
  • 1/2 cup prepared chocolate frosting

    Directions

Preheat oven to 375 degrees F (190 degrees C). Line baking sheets with baking parchment.

Beat shortening, peanut butter, brown sugar, and 1/2 cup white sugar together with an electric mixer in a large bowl until smooth. Beat egg into the creamy mixture until fully incorporated. Stir milk and vanilla extract into the mixture until smooth.

Mix flour, baking soda, and salt together in a small bowl; add to the wet mixture in the large bowl and stir until completely incorporated into a dough. Divide and shape dough into 48 balls.

Spread 1/4 cup white sugar into a wide, shallow bowl. Roll dough balls in sugar to coat and arrange about 2 inches apart onto prepared baking sheets.

Bake in preheated oven until golden brown, 10 to 12 minutes. Remove cookies from oven and quickly press a dimple into the middle of each cookie using the blunt end of a wooden spoon. Cool cookies on sheets for 10 minutes before transferring to a wire cooling rack to cool completely.

Cut each chocolate sphere into two hemispheres. Put one piece atop each cookie with the rounded side facing upwards.

Spoon frosting into a pastry bag with a small round tip or a plastic freezer bag with one end snipped off. Dab a small amount of frosting onto the back of each candy eyeball and stick two onto each chocolate candy to resemble eyes. Then pipe frosting in four thin lines, starting at the base of the candy, on each side atop the cookie to resemble spider legs.

Let frosting harden at room temperature, about 30 minutes. Store cookies in an airtight container.

Meringue Bones and Ghosts

1608278.jpg

Ingredients

  • large egg whites
  • 2 drops fresh lemon juice, or more to taste
  • 7 tablespoons white sugar, or more to taste
  • 2 chocolate chips, melted, or as needed

    Directions
  • Preheat oven to 225 degrees F (110 degrees C). Line 2 baking sheets with silicone baking mats.
  • Whisk eggs whites and lemon juice together in a bowl until thick, white, and foamy. Add sugar a spoonful at a time, whisking constantly, until meringue is shiny, thick, and holds its shape.
  • Transfer meringue to a piping bag. Pipe 12 bone shapes onto a prepared baking sheet. Pipe 12 puffs to resemble ghosts onto the remaining baking sheet.
  • Bake in the preheated oven until dried and firm, about 1 hour. Turn off the oven, close the door, and cool until completely dried, about 1 hour more.
  • Dip the tip of a toothpick into melted chocolate and dot chocolate "eyes" on each of the ghosts.

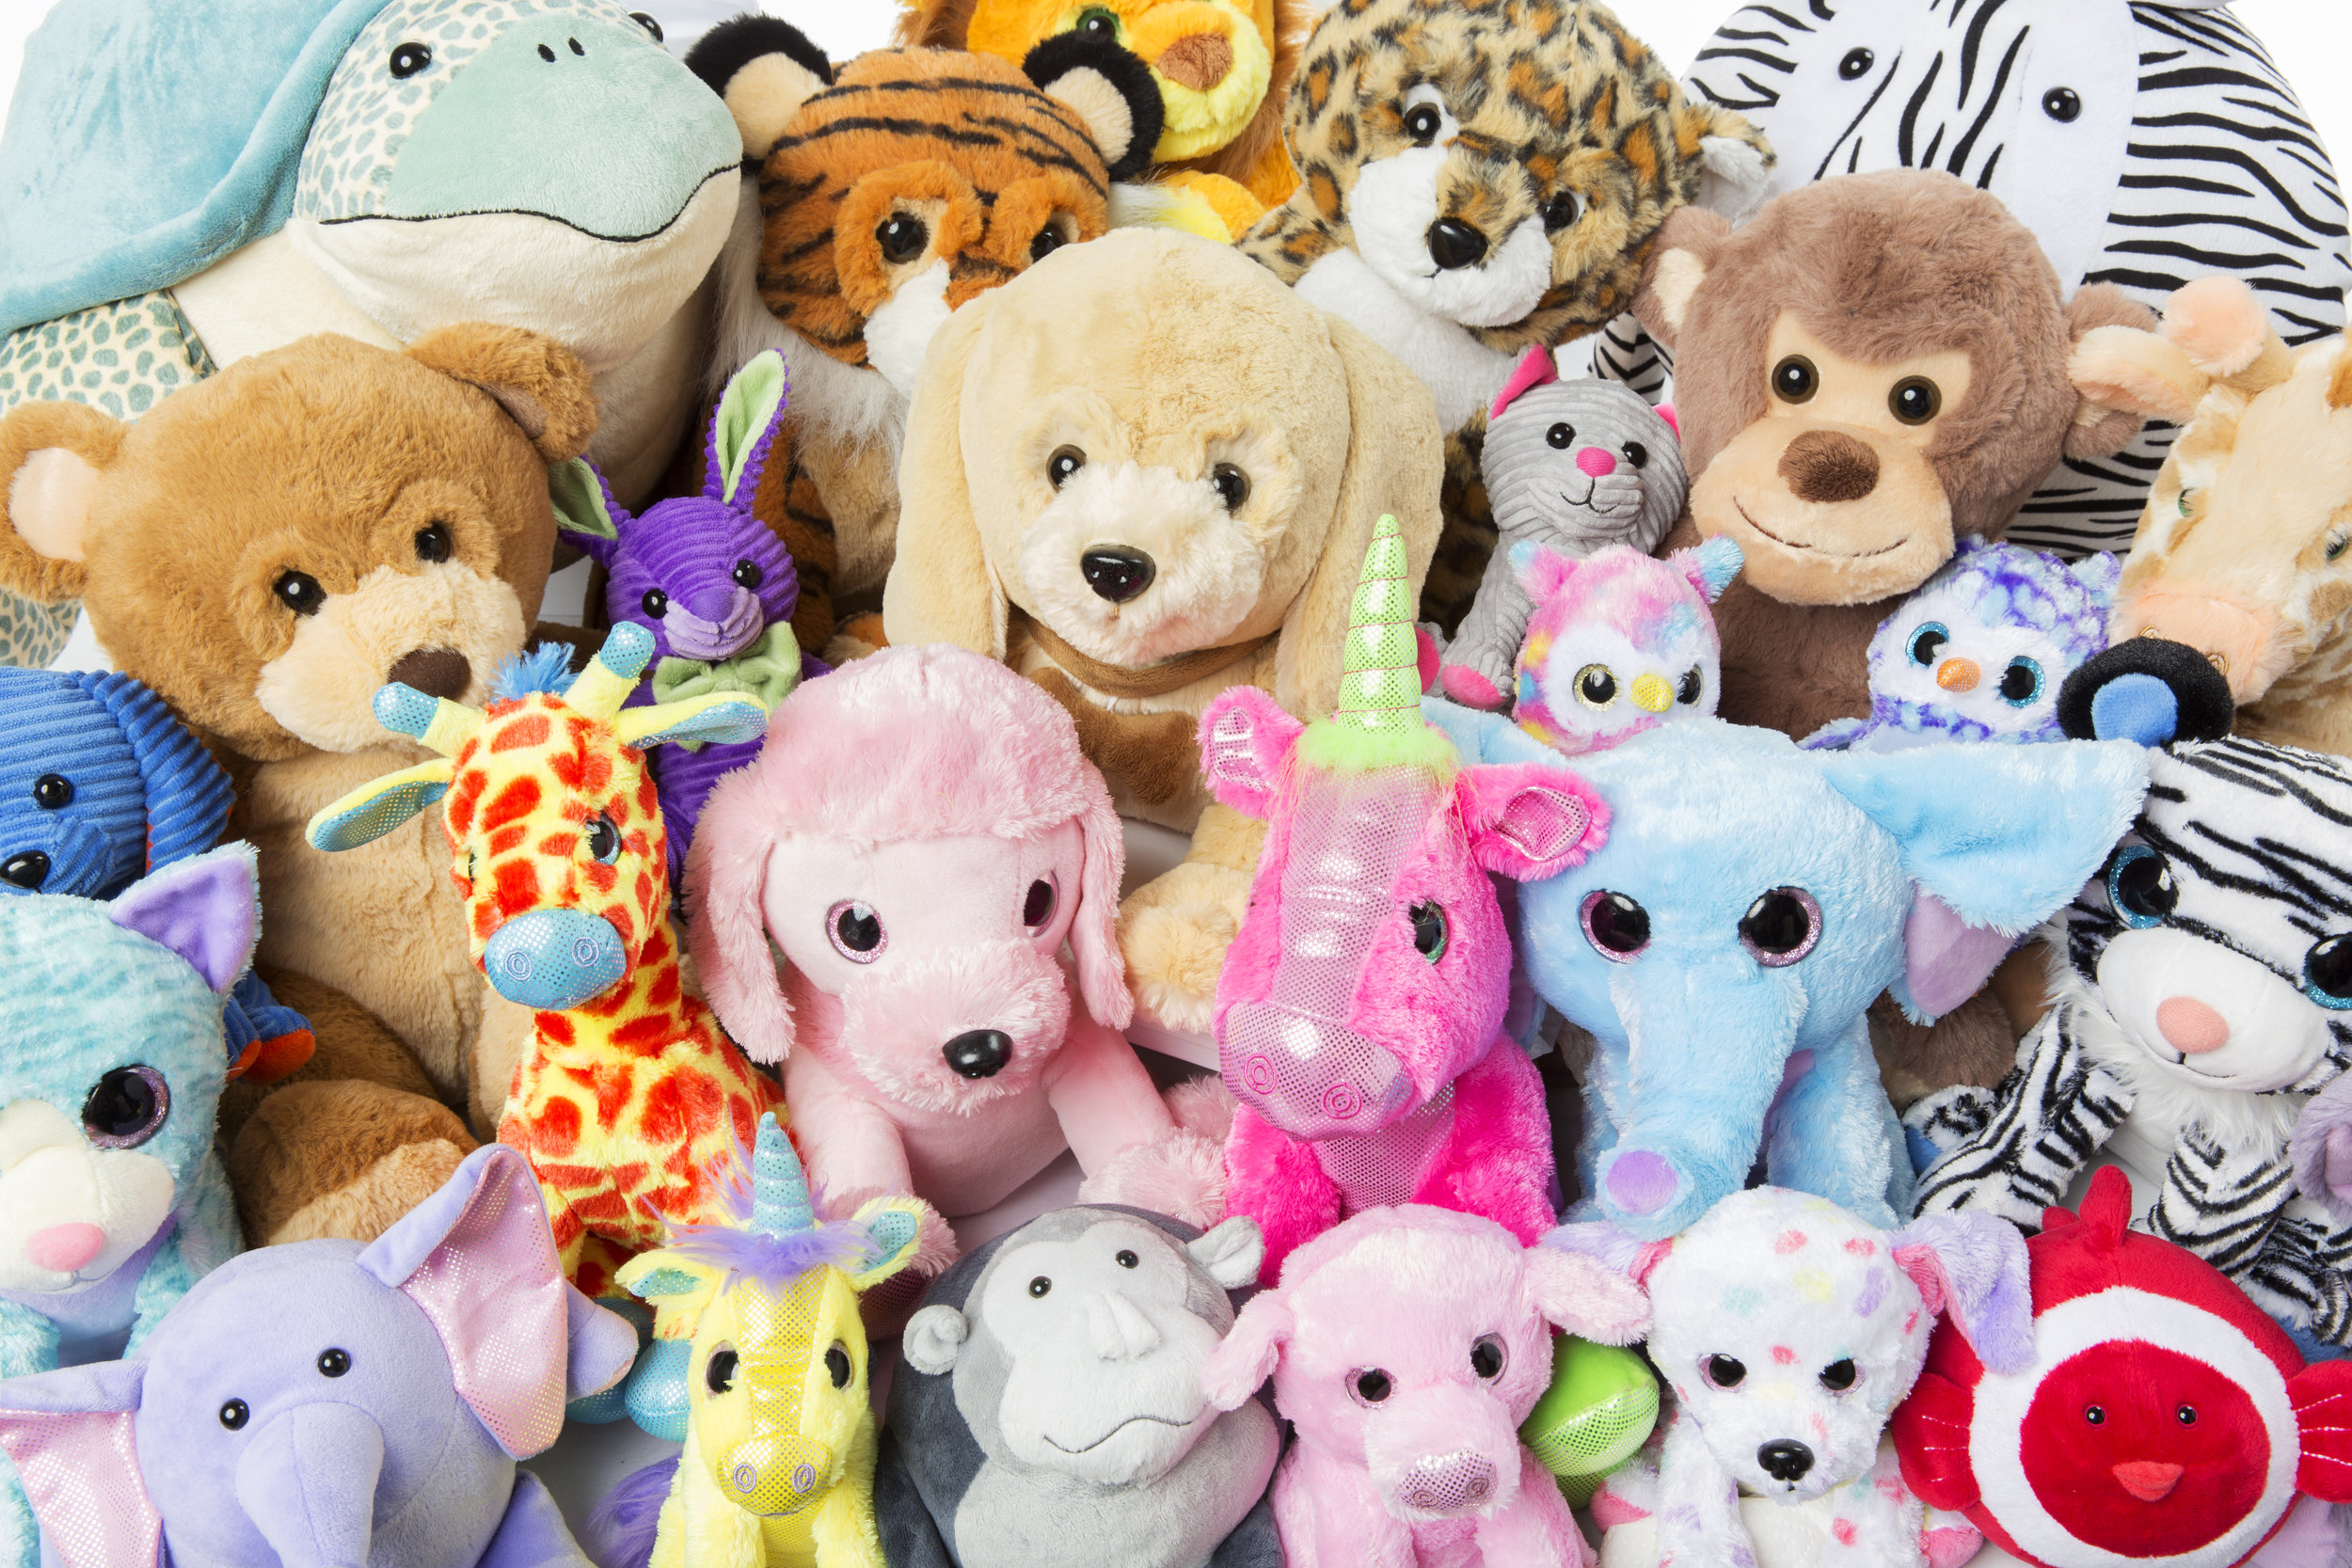
5 Reasons Stuffed Animals Are Amazing!

Group2.jpg

5 Reasons Stuffed Animals Are Amazing!

1. They're always happy.

Stuffed animals always seem to be in the best of moods! No matter how bad your day may have been, you'll always be greeted by a smiling furry face when you get home. 

2. They're nurturing.

Kids are usually the ones being told what to do, but with their stuffed animals they're the boss. Kids are able to care for their toys and by playing the role of a caregiver, they're able to interact with their toys to further social development. 

3. They're full of love.

Have you ever hugged a stuffed animal? Of course you have, and I'm sure it was amazing. Hug a person for too long and they get uncomfortable, but a stuffed animal? You could hug that little furry friend all the live long day.

4. No mess.

Unlike most other toys, with a stuffed animal there is hardly any cleanup! Well, it depends on the adventure your kid is having. If they're just hanging out, reading a story together, or tossing them around, then no worries!

5. They're there when you need them.

Stuffed animals, if taken care of, can last a lifetime. Long after your kid's trucks break, their plastic dolls dent, and their swing sets rust, their favorite stuffed buddy will still be their waiting for their next fun day together.